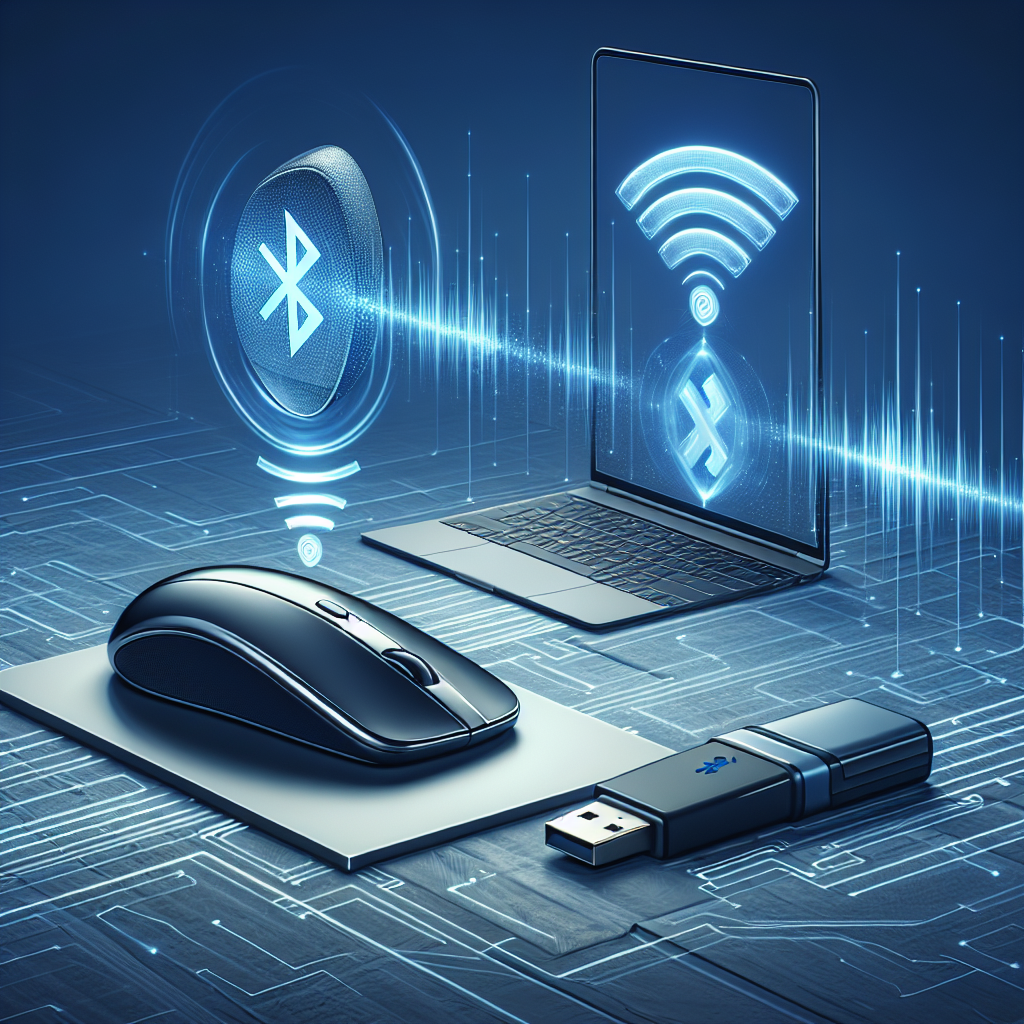
Logitech wireless mice are renowned for their convenience, versatility, and reliability. Whether you are using your mouse for work or gaming, connecting it via Bluetooth or a USB receiver can drastically enhance your computing experience. This article will guide you through the step-by-step process of connecting your Logitech wireless mouse via both methods, ensuring you get the best performance out of your device.
Method 1: Connecting via Bluetooth
Connecting your Logitech wireless mouse via Bluetooth is straightforward and eliminates the need for a USB port. Here’s how to do it:
1. Ensure Your Device Has Bluetooth
- Make sure your computer or laptop has Bluetooth capability. If not, you may need a Bluetooth adapter.
2. Turn On Your Logitech Mouse
- Locate the power switch on the bottom of the mouse and turn it on.
3. Activate Pairing Mode
- Press and hold the ‘Easy-Switch’ button (usually located at the bottom or side of the mouse) until the LED light blinks rapidly, indicating that the mouse is in pairing mode.
4. Open Bluetooth Settings
- On your computer, navigate to the Bluetooth settings. This can typically be found in the Control Panel or Settings menu.
- Select ‘Add a Bluetooth or other device’.
5. Pair Your Mouse
- Select ‘Bluetooth’ from the menu and look for ‘Logitech Mouse’ on the list of available devices.
- Click on ‘Logitech Mouse’ to pair and connect. Once connected, the LED light on the mouse should stop blinking and become steady.
Method 2: Connecting via USB Receiver
Using the USB receiver, also known as the Unifying Receiver, is another easy method to connect your Logitech mouse. Follow these steps:
1. Insert the USB Receiver
- Plug the Unifying Receiver into an available USB port on your computer.
2. Turn On Your Mouse
- Switch on your Logitech mouse using the power button located at the bottom.
3. Pair Your Mouse
- The mouse should automatically pair with the receiver. If it doesn’t, you might need to download the Logitech Unifying Software from the Logitech website.
4. Use the Logitech Unifying Software
- Open the Unifying Software and follow the on-screen instructions to pair your mouse with the receiver.
Troubleshooting Tips
If you encounter any issues while connecting your Logitech wireless mouse, try these troubleshooting tips:
- Restart your computer and try connecting again.
- Ensure the mouse is charged or has fresh batteries.
- Update your computer’s Bluetooth drivers or the Logitech Unifying Software.
- Try connecting the mouse to another device to check if the issue persists.
Comparison Table: Bluetooth vs. USB Receiver
Below is a comparison table to help you decide which connection method is best for you:
| Criteria | Bluetooth | USB Receiver |
|---|---|---|
| Portability | High | Moderate |
| Battery Consumption | Moderate | Low |
| Connection Distance | Up to 30 feet | Up to 10 feet |
| Compatibility | Requires Bluetooth | Requires USB port |
| Setup Complexity | Moderate | Easy |
Conclusion
Connecting a Logitech wireless mouse via Bluetooth or a USB receiver is a straightforward process that can significantly enhance your computing efficiency. Whether you opt for the flexibility of Bluetooth or the reliability of a USB receiver, following the steps outlined in this guide will ensure a seamless connection. Keep your device drivers updated, and you’ll rarely encounter any connectivity issues. Happy clicking!

