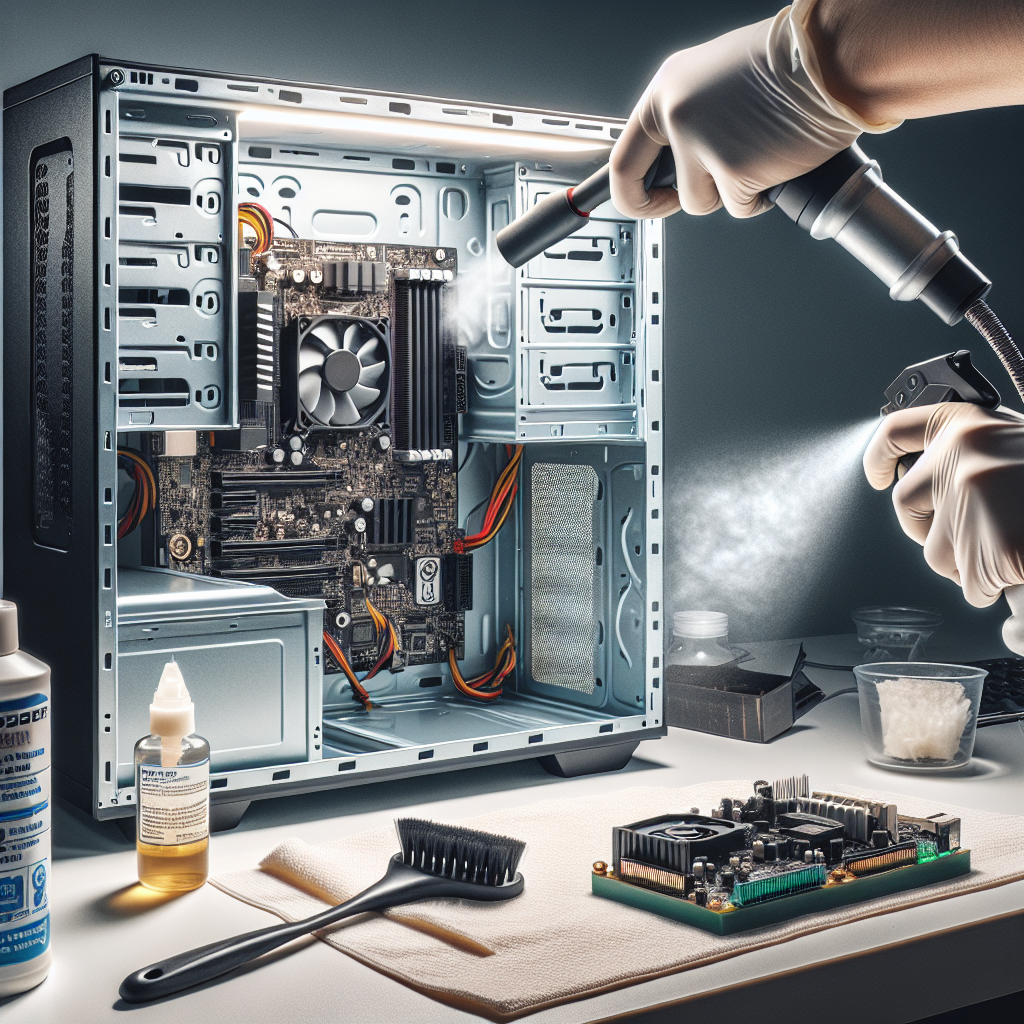
Maintaining the cleanliness of your computer’s interior is crucial for ensuring optimal performance and longevity. Dust, dirt, and other debris can accumulate inside your computer, leading to overheating and potential hardware damage. By following this comprehensive guide, you can effectively clean the inside of your computer, ensuring it runs smoothly and efficiently.
Why Clean the Inside of Your Computer?
Cleaning the inside of your computer helps to:
- Improve Performance: Dust and debris can clog fans and heat sinks, causing your computer to overheat and run slower.
- Extend Lifespan: Regular cleaning can prevent hardware failures and extend the life of your components.
- Reduce Noise: Clean fans operate more quietly, leading to a more pleasant user experience.
Essential Tools and Materials
Before starting, gather the following tools and materials:
- Phillips screwdriver
- Compressed air canister
- Anti-static wrist strap
- Soft-bristle brush
- Microfiber cloth
- Isopropyl alcohol (90% or higher)
- Cotton swabs
Steps to Clean the Inside of Your Computer
1. Power Down and Unplug
Before cleaning, ensure your computer is turned off and unplugged from the power source. This step is crucial to avoid electrical shock and prevent any potential damage to the internal components.
2. Open the Computer Case
Using a Phillips screwdriver, carefully remove the screws that secure the case. Place the screws in a safe location to prevent losing them. Gently remove the side panel to expose the internal components of your computer.
3. Ground Yourself
Static electricity can damage sensitive components. Wear an anti-static wrist strap and attach it to a metal part of the case to ground yourself properly. If you don’t have a wrist strap, regularly touch a metal part of the case to discharge static electricity.
4. Remove Dust with Compressed Air
Use a compressed air canister to blow out dust and debris from the internal components. Hold the canister upright and use short bursts to avoid moisture buildup. Focus on the following areas:
- Fans: Clean all fans, including the CPU fan, GPU fan, and case fans.
- Heat Sinks: Blow air through the heat sink fins to remove dust.
- Power Supply: Clean the power supply vents and fan.
- Other Components: Blow air on the motherboard, RAM modules, and expansion cards to remove dust.
5. Clean the Fans and Heat Sinks
For stubborn dust on fans and heat sinks, use a soft-bristle brush to gently dislodge the debris. Alternatively, you can use cotton swabs dipped in isopropyl alcohol to clean hard-to-reach areas.
6. Clean the Interior Surfaces
Wipe down the interior surfaces of the case with a microfiber cloth to remove any remaining dust. Be cautious around delicate components to avoid damage.
7. Check and Clean Cable Connections
Inspect all cable connections to ensure they are secure. Clean any dusty or dirty connections with a cotton swab dipped in isopropyl alcohol.
8. Reassemble and Test
Once the cleaning process is complete, reattach the side panel and secure it with the screws. Plug in your computer and power it on to ensure everything is functioning correctly.
Maintenance Tips
- Regular Cleaning: Make a habit of cleaning the inside of your computer every six months to maintain optimal performance.
- Proper Ventilation: Ensure your computer is placed in a well-ventilated area to minimize dust buildup.
- Use Dust Filters: Consider installing dust filters on your computer’s intake fans to reduce the amount of dust entering the case.
Conclusion
Regularly cleaning the inside of your computer is essential for maintaining its performance, reducing noise, and extending its lifespan. By following the steps outlined in this guide, you can effectively remove dust and debris from your computer’s internal components, ensuring it runs smoothly and efficiently.

